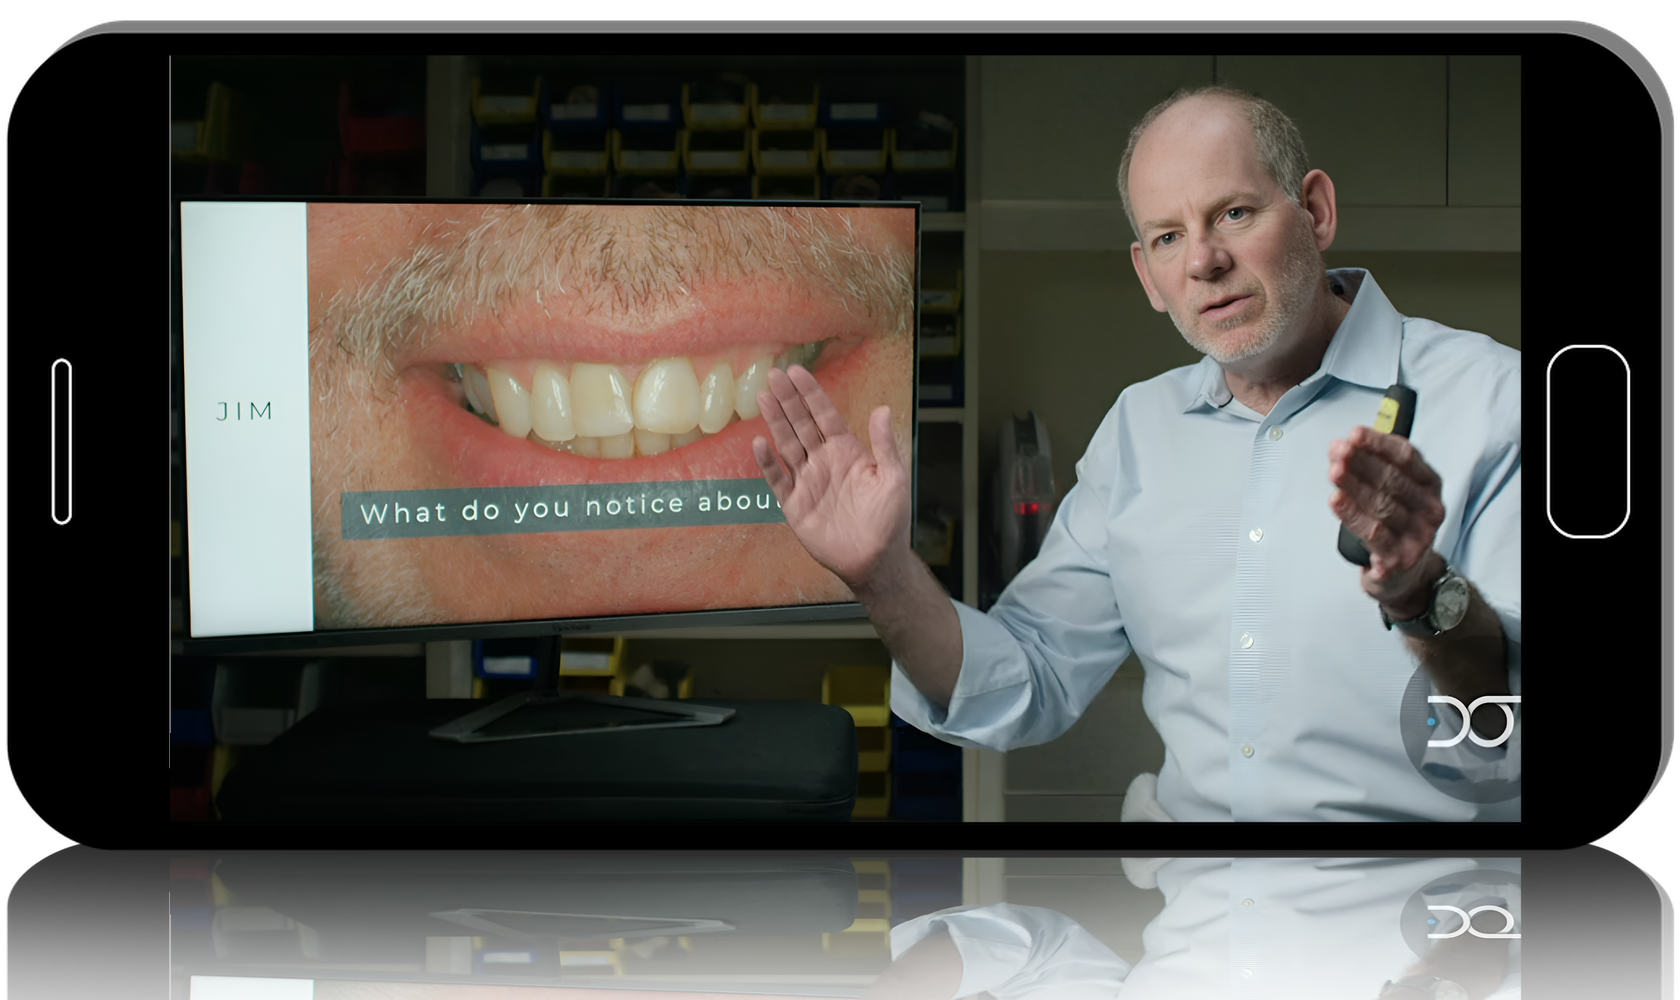
Precision in Dental Restorations: From Veneers to Occlusion - Dental Online Training Mega Course

Precision in Dental Restorations: From Veneers to Occlusion - Dental Online Training Mega Course
13 courses: 357 lessons + PDF files
Duration: 16 h 55 min
Webinars are dedicated to enhancing your clinical skills with a strong emphasis on practical techniques. We prioritize your education and ensure that each session delivers valuable, unbiased content that you can trust and apply in your practice.
-
1. Bicuspid Veneer and V-onlay prep1 h 55 min
-
2. Class 2 Band and Rings12 min
-
3. Class 2 Composite2 h 21 min
-
4. Class 4 Composite Restoration – Polychromatic Approach1 h 14 min
-
5. Class 5 Composite Restoration1 h 21 min
-
6. Digital Dental Photography38 min
-
7. Dental Resin Margin Elevation Technique15 min
-
8. Implant Provisionals49 min
-
9. Masking Dark Prep5 min
-
10. Masking the Dark Tooth with Resin2 h 22 min
-
11. Maxillary Central Incisor: Tooth shape and conture38 min
-
12. Occlusion made easy2 h 22 min
-
13. Peg laterals2 h 39 min
29 lessons:
Bicuspid Veneer Lecture Part 1- Part 14
Hands On Bicuspid Veneer Prep Part 1 - Part 15
7 lessons:
01 - Intro
02 - Clear Matrix Bands
03 - Metal Bands
04 - Modified Metal Bands
05 - Contact Rings
06 - Secure Contact Rings Tip
07 - Thank you
40 lessons:
Part 1:
01 - Intro
02 - Total Etch Overview
03 - Maximize Bond Strength on Dentin
04 - self etch vs total etch
05 - bonding to enamel
06 - selective etch technique
07 - polymerization shrinkage
08 - C factor and horizontal layering
09 - Oblique Layering
10 - review sensitivity factors
Part 2:
01 - Overview
02 - matrix bands
03 - Clear contoured mylar band
04 - Contact rings
05 - Preoperative Evaluation
06 - Pre-wedge
07 - Extend onto Proximal Walls
08 - Placing Matrix Band
09 - Wedge Modification
10 - Sectional Ring
11 - Total Etch Technique
12 - covert class II to class I
13 - Restore as Class I
14 - Contour and Polish
15 - Selective Etch Technique
16 - Review
Part 3:
01 - Placing a matrix band
02 - wedging
03 - Adjusting a wedge
04 - Placing contact rings
05 - teflon tape to support matrix
06 - Applying adhesive
07 - Applying flowable composite
08 - Turn class II into class I
09 - Open the occlusal embrasure
10 - Building cusps pt1
11 - Building cusps pt2
12 - Adjusting marginal ridge height
13 - Blending to proximal walls
14 - Opening occlusal embrasure and final polish
32 lessons:
Lectures:
01 - Intro
02 - Composite Materials
03 - Adhesion
04 - Bevel Design
05 - Dentin Layer
06 - Enamel Layer
07 - Before you light cure
08 - Light cure and initial contour
09 - Secondary Anatomy and Polish
10 - Enhance Polish
11 - Review
Materials:
01 - Materials
02 - Shade Selection
03 - Applying Adhesive
04 - Simulate Ectch
05 - Creating lingual wall
06 - Dentin Layer
07 - Enamel Layer
08 - Check Final Contour
09 - Initial Contour with bur
10 - Refine Contour and Facil Lobes
11 - Polish restoration
12 - Enhance Polish
13 - Final Comments
Putty Matrix:
1 - Intro
2 - Key Points for success
3 - Putty Matrix materials I like and why
4 - What you need before you start
5 - Creating putty matrix
6 - Remove excess
7 - Trimming your putty matrix to seu you up for success
8 - Conclusion
35 lessons:
Part 1:
01 - Intro
02 - Etiology
03 - Chemical Erosion Factors
04 - When to treat
05 - Treatment Options
06 - Advantages of Microfill Composites
07 - Technique Overview
08 - Preparation Design
09 - Finishing Your Composite Beoynd the Bevel
10 - Adhesive Systems
11 - Total Etch vs Selective Etch
Part 2:
01 - Overview
02 - Adhesion
03 - Composite Placement avoiding shrinkage
04 - Before your final cure
05 - Initial Contour
06 - Removing Cord
07 - Finishing with Discs
08 - Final Luster
Materials:
01 - Materials
02 - Preparation
03 - Placing the bevel
04 - Simulate the etch
05 - Placing Adhesive
06 - Instrument Selection
07 - Placing First Increment
08 - Sculpting First Increment
09 - Placing Second layer
10 - Final Sculpting
11 - Contour with Burs
12 - Contour with Discs
13 - Finish With FlexiCups
14 - Polishing Steps
15 - Final Luster
16 - Review
18 lessons:
Part 1:
01- Full face
02- Smile Photos
03 - Retracted Photos
04 - Close-up shots
05 - Occlusal Photos with mirror 01
06 - Mandibular Occlusal Photos
07 - Right Side Buccal Photos
08 - Left Side Buccal Photos
09 - Thank you
Part 2:
01 - Intro
02 - 5 Reasons To Utilize Dental Photography
03 - Equipment
04 - Exposure Triangle - Fsop
05 - Exposure Triangle - Shutter Speed
06 - Additional Settings
07 - Tips
08 - Patient Chair vs Stool
09 - Review
8 lessons:
1 - Intro
2 - Drilling and Finding the Caries
3 - Placing the Wedge
4 - Removing the Caries
5 - Seal Cervical Margin
6 - Dual Cure Auto Cure Technique
7 - Class I Technique
8 - Conclusion
27 lessons:
Lecture:
01 - Intro
02 - Case Overview
03 - Anesthetize
04 - Seating Peek Abutment
05 - Perfectly Fitted Vaccum Form
06 - Access hole
07 - Temporary Material
08 - Creating Subgingival Form
09 - Flowable Composites
10 - Placement and Seal of Temporary Implant
11 - Final Photos
Materials:
1 - Materials
2 - Model and Vacuum Form Overview
3 - Placing Temporary Cylinder
4 - Temporary Cilinder Analysis and Vaseline Placement
5 - Creating Macro Retention
6.1 - Creating Lingual Space
6.2 - Access Hole
7 - Sealing Screw Access Hole
8 - MirrorImage
9 - Trim Temporary with a Coarse Disc
10 - Try temporary and adjust incisal edge
11 - Prep Temporary to apply flowable composite
12 - Apply Flowable Composite Demark
13 - OS1 Bur and Polishing Wheels
14 - Teflon Tape
16 - Conclusion v002
6 lessons:
1 - Intro
2 - Adhesive and Bonding Agent
3 - Pink Opaquer
4 - A1 Opaquer
5 - Finish Preparation and Polish
6 - Conclusion
59 lessons:
Part 1:
01 - Which patients are canditates
02 - Zirconia Crowns
03 - Porcelain Veneers and Zirconia Veneers
04 - Three Reasons to use Composite
01 - Materials
02 - Strength
03 - Polishability
04 - Where Nanofills fit in
05 - Review and Layering
06 - Opacity
07 - The System I use
08 - Opaquers
09 - Why you need opaquers and how to use them
10 - Pink Opaquer
11 - Tints
12 - Materials review
Part 2:
01 - Intro
02 - Adheson Protocol v02
03 - Application of Pink Opaque v02
04 - Evaluate Value and Place Second layer of Pink Opaque
05 - Lingual Wall
06 - Lingual wall check points
07 - Hybrid Layer
08 - Hybrid Layer Evaluation
09 - Opaquer layer Evaluation
10 - Opaquer layer
11 - White Tint
12 - Grey tint
13 - Facial Incisal Layer
14 - Final Layer Placement
15 - FInal Sculpting Distal Area
16 - Final Sculpting Mesio Area
17 - FInal Cure Tips and Consideration
18 - Initial Contour
19 - Gingival Margin and Facil Planes Sculpting
20 - Incisal Edge View
21 - Final Facial Contouring
22 - Lingual and Interproximal Contouring
23 - Initial Polish
24 - Final Luster and Final Result
25 - Managing Patients Expectations and Final Thoughts
Clinical Case:
01 - Meet Steven
02 - How much space you need
03 - Prep and bond
04 - Why you need Clear Liquid Resin
05 - Pink Opaque Application
06 - Dentin Layer
07 - Creative Color Opaquer Vita Shade
08 - Tints
09 - Incisal and Gingival Microfill
10 - Body Microfill
11 - Proximal contacts
Clinical Case:
01 - Meet Jackie
02 - Prep Design
03 - Adhesion and Pink Opaque
04 - Dentin Layer
05 - Opaquer and Tints
06 - Enamel Layer
07 - Final Results
13 lessons:
Hands on:
01 - Hands-on Materials
02 - Placement and Initial Sculpting
03 - Final Sculpting
04 - Finishing
05 - Adding Facil Grooves
06 - Polishing
07 - Enhancing Polish
Lecture:
01 - Course Intro
02 - Central Width to Lenght Prop
03 - Planes
04 - Line angles
05 - Embrasure Spaces
06 - Review
29 lessons:
Presentation Part 1 - Part 17
Hands On Part 1 - Part 12
54 lessons:
Presentation Peg Lateral Part 1 - Part 27
Hands On Peg Lateral Part 1 - Part 27
-
Dr. Dennis Hartlieb
Dennis B. Hartlieb, DDS is a graduate of the University of Michigan School of Dentistry, and maintains a full time practice dedicated to cosmetic, implant, restorative, and sleep dentistry in Glenview, Illinois. In addition to his private practice, Dr. Hartlieb is an Adjunct Associate Professor at the Marquette University School of Dentistry, in Milwaukee, Wisconsin, and an instructor at the Center for Esthetic Excellence in Chicago. Dr. Hartlieb has presented hands-on programs to dentists throughout the US and in Europe on the art and science of cosmetic bonding techniques. A consultant for many dental manufacturers, Dr. Hartlieb is influential in the design of materials widely used in restorative dentistry.

